
Incorporate Zendesk Chat SDK into Your iOS App
In this post, I will provide an insightful overview of incorporating the Chat SDK into your app, along with valuable tips to help you overcome specific challenges.
As a software developer, integrating third-party SDKs into your app is a common practice, offering numerous advantages, including time-saving benefits and the availability of custom features tailored to fit almost any application seamlessly.
In this post, I will provide an insightful overview of incorporating the Chat SDK into your app, along with valuable tips to help you overcome specific challenges.
This demonstration is based on a fork of Zendesk’s own demos.
You can access my demo through the repository linked at the end of this article.
Setup
Before we start actually implementing a custom solution with ChatSDK make sure you have everything setup and ready to go.
Dependency
On Xcode, you can easily import the ChatSDK dependency into your project. I prefer using Swift Package Manager, but if you're using a different package manager, Zendesk has provided a helpful article on this topic.
Using Swift Package Manager
- Right click on your project -> Add package dependencies
- On the search bar add the following link: https://github.com/zendesk/chat_sdk_ios
- Choose the first repository
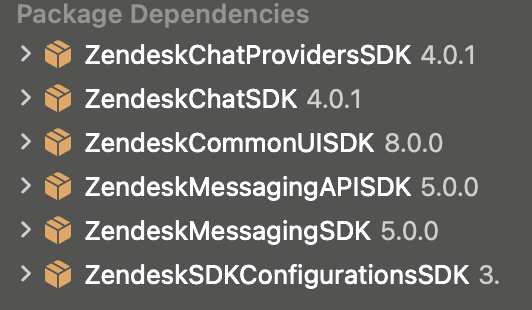
Once you’ve completed these steps, you should be able to see the downloaded package integrated into your project.
Initializing ChatSDK
To complete the setup, it’s crucial to obtain the account key required for initializing the ChatSDK.
As per Zendesk’s guidance, this initialization should occur only once. To achieve this, Zendesk recommends adding the initialization code to your App Delegate, as demonstrated in their tutorials
In your case you may not have the account key available when the app is starting so even if you can’t add it on app delegate be mindful to place the initialization somewhere where it can only be called once.
One suggestion is to have a Service that is responsible for initializing Zendesk.
To understand where you can get the account key please see Zendesk’s official documentation page about it.
Chat Screen
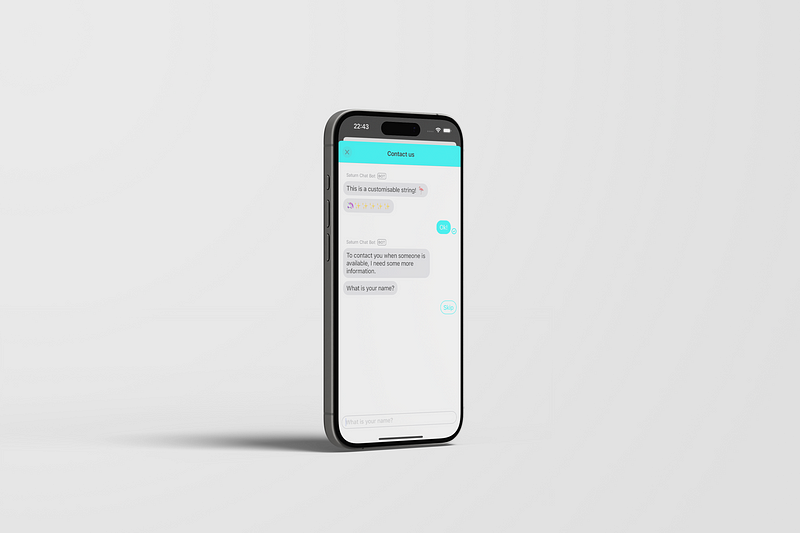
After setting up everything, you’re now ready to call the Chat SDK screen and ensure it’s functioning in your app.
Next, we’ll delve into customization, but for now, let’s focus on getting the screen up and running in your application.
To open this chat screen, you need to initialize the following components:
- Chat Configuration -> Handles forms and identity of user
- Engines -> Responsible to customize the experience of the user (adding a answer bot, voice calls, etc)
- Messaging Configuration -> Handles the bot naming and other topics related to messaging
- ChatAPI Configuration -> If you want to specify the department to where to send the chat of the user
In the method to initialize the View Controller, be sure to add the following code. You can find this code in the repository by checking the ZendeskMessaging file, specifically on line 80.
func buildMessagingViewController() throws -> UIViewController {
        Chat.instance?.configuration = chatAPIConfig
        return try Messaging.instance.buildUI(engines: [ChatEngine.engine()],
                                              configs: [chatConfiguration])
}
Show View Controller
When calling the method buildMessagingViewController, insert the following code to display this View Controller.
private func showChatSDK() {
  do {
    let viewController = try buildMessagingViewController()
    let navigationController = UINavigationController(rootViewController: viewController)
   navigationController.modalPresentationStyle = .fullScreen // You can add whatever you want here, even .currentContext
     self.present(navigationController, animated: true)
  } catch {
    // Show any error screens here
  }
}
Customization
However, it’s important to note that despite the extensive customization options available for your Chat screen, there are certain elements that cannot be customized on iOS.
These limitations include:
- Cannot Change Answer Bot Avatar: This is a known issue and is documented in Zendesk’s official documentation: Link to Documentation
- Right Navigation Bar Button (the ‘…’) Cannot be Overridden
- Color of the Navigation Title Bar: While many color customizations are possible as of July 2023, changing the navigation title color is not supported.
- Font of the Text Inside the Chat SDK
These limitations are important to keep in mind when planning your customization efforts for the Chat SDK in your iOS app.
Change Bubble Message Color
If you want to change the bubble message color and the send button color, you can achieve this by setting the currentTheme.primaryColor of CommonTheme to your desired color.
Add this code to change these colors, also take a look on Zendesk’s documentation about theme colors.
CommonTheme.currentTheme.primaryColor = .cyan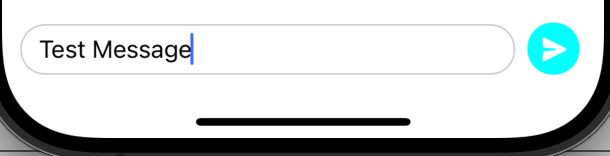
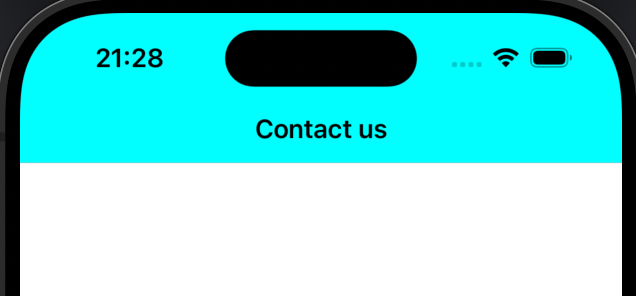
Change Navigation Bar Color
On the buildMessagingViewController() method add the following code to change the color of the navigation bar.
func buildMessagingViewController() throws -> UIViewController {
        Chat.instance?.configuration = chatAPIConfig
        UINavigationBar.appearance().barTintColor = .cyan

        return try Messaging.instance.buildUI(engines: engines,
                                              configs: [messagingConfiguration, chatConfiguration])
    }
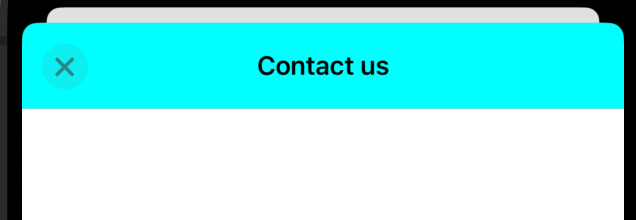
Change left bar button
Treating the navigation bar as a standard navigation bar allows for easy customization, including the addition of bar button items.
To create a bar button item with a dismissal action, follow these steps:
private var modalBackButton: UIBarButtonItem {
  let button = UIBarButtonItem(barButtonSystemItem: .close,
        target: self,
        action: #selector(dismissViewController))
  button.tintColor = .black
  return button
}
In the method where you present the Chat SDK using showChatSDK(), include the following code to add the previous bar item.
...
do {
   let viewController = try ZendeskMessaging.instance.buildMessagingViewController()

   viewController.navigationItem.leftBarButtonItem = modalBackButton
   let navigationController = UINavigationController(rootViewController: viewController)
   navigationController.modalPresentationStyle = .fullScreen
   present(navigationController, animated: true)
} catch {
   ...
}
...
Add Answer Bot/ Form
When the user opens the screen, you might want to include an introductory message from an answer bot and provide a form to identify the user.
To achieve this, expand the configurations when building the View Controller.
This allows you to set up the necessary elements for the introductory message and user identification form.
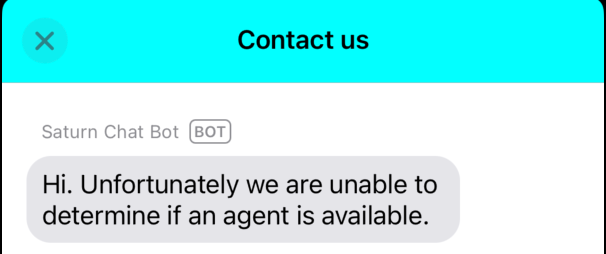
Add Answer Bot
Create a computed var with an instance of Message Configuration. In this, add the name to the bot. If you don’t add the name, the default will be “Answer Bot”.
var messagingConfiguration: MessagingConfiguration {
   let messagingConfiguration = MessagingConfiguration()
   messagingConfiguration.name = "Saturn Chat Bot"
   return messagingConfiguration
}
To display the Answer Bot on the chat screen, insert the following code into the computed var of the Chat Configuration.
var chatConfiguration: ChatConfiguration {
   let chatConfiguration = ChatConfiguration()
   chatConfiguration.isAgentAvailabilityEnabled = true

   return chatConfiguration
}
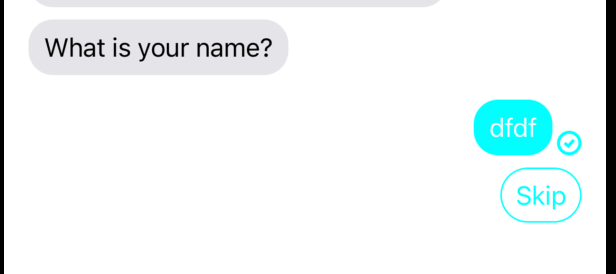
Form
In the previously defined Chat Configuration, include the following parameter:
...
   chatConfiguration.isPreChatFormEnabled = true
   return chatConfiguration
}
The form has a lot of parameters that can be configurable. You can customize the following parameters:
- Name
- Phone Number
- Department
Every parameter can have the following states: optional, hidden or required.
You need to create an object of type ChatFormConfiguration and set the preChatFormConfiguration to that object you just created.
{
let formConfiguration = ChatFormConfiguration(name: .required,
email: .hidden,
phoneNumber: .hidden,
department: .hidden)
...
chatConfiguration.preChatFormConfiguration = formConfiguration
...
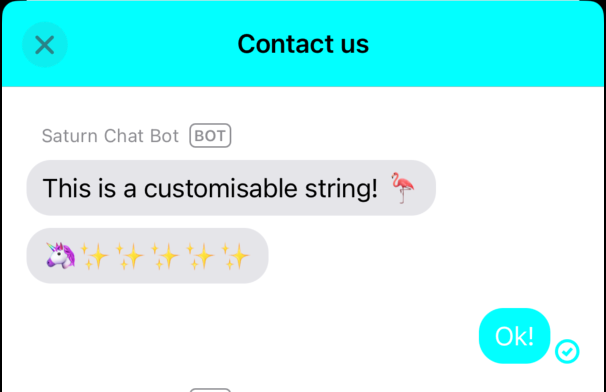
}Change Localized Strings
Lastly, a highly valuable customization feature offered by Zendesk is the ability to modify the localized keys of nearly all available text elements.
This allows for comprehensive control over the text and language used throughout the Zendesk integration.
To do this, you essentially override the localized keys on you Localized String file. Use the following documentation to know more about localizable strings.
- File -> New -> File
- On the Resources Section -> String Catalog
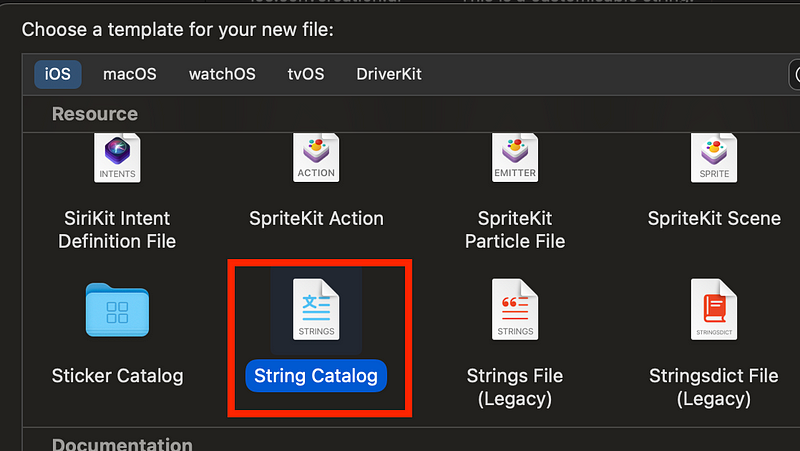
On the String catalogue, add a new key with the value of the key you want to override.
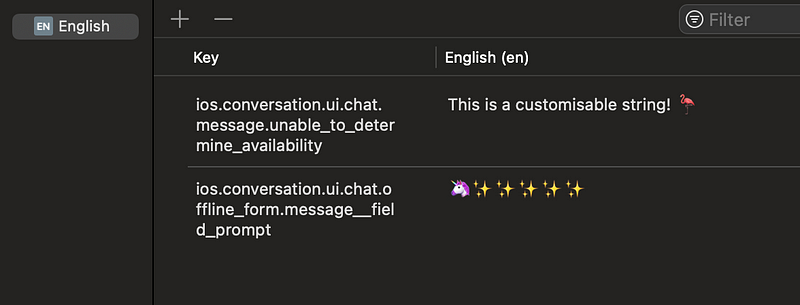
To get a comprehensive list of the keys that can be overridden in the Chat SDK, refer to the official documentation for more detailed information. You can find this information in the provided documentation
That concludes this tutorial, which covers the majority of available customization options within the Chat SDK. For a practical demonstration of what we’ve discussed in this post, please feel free to explore my repository.
Thank you for reading!
https://github.com/Sailor-Saturn/Integrating-ChatSDK-Zendesk
Your feedback is greatly appreciated! Please support my work with 👏 and follow for more content.
References
- https://developer.zendesk.com/documentation/classic-web-widget-sdks/chat-sdk-v2/ios/integration
- https://developer.zendesk.com/documentation/classic-web-widget-sdks/chat-sdk-v2/ios/integration/#adding-the-sdk-with-spm
- https://developer.zendesk.com/documentation/classic-web-widget-sdks/chat-sdk-v2/ios/quick-start-chat-sdk-ios/#adding-the-initialization-code-to-the-application-delegate
- https://developer.zendesk.com/documentation/classic-web-widget-sdks/chat-sdk-v2/ios/known_issues/
- https://developer.zendesk.com/documentation/classic-web-widget-sdks/chat-sdk-v2/ios/customizing_the_look/#customizing-the-chat-experience
- https://developer.zendesk.com/documentation/classic-web-widget-sdks/unified-sdk/ios/customizing_the_look/#how-theming-works
- https://developer.zendesk.com/documentation/classic-web-widget-sdks/unified-sdk/ios/localize_text/#chat
- https://developer.zendesk.com/documentation/classic-web-widget-sdks/unified-sdk/ios/localize_text/#localizing-text